
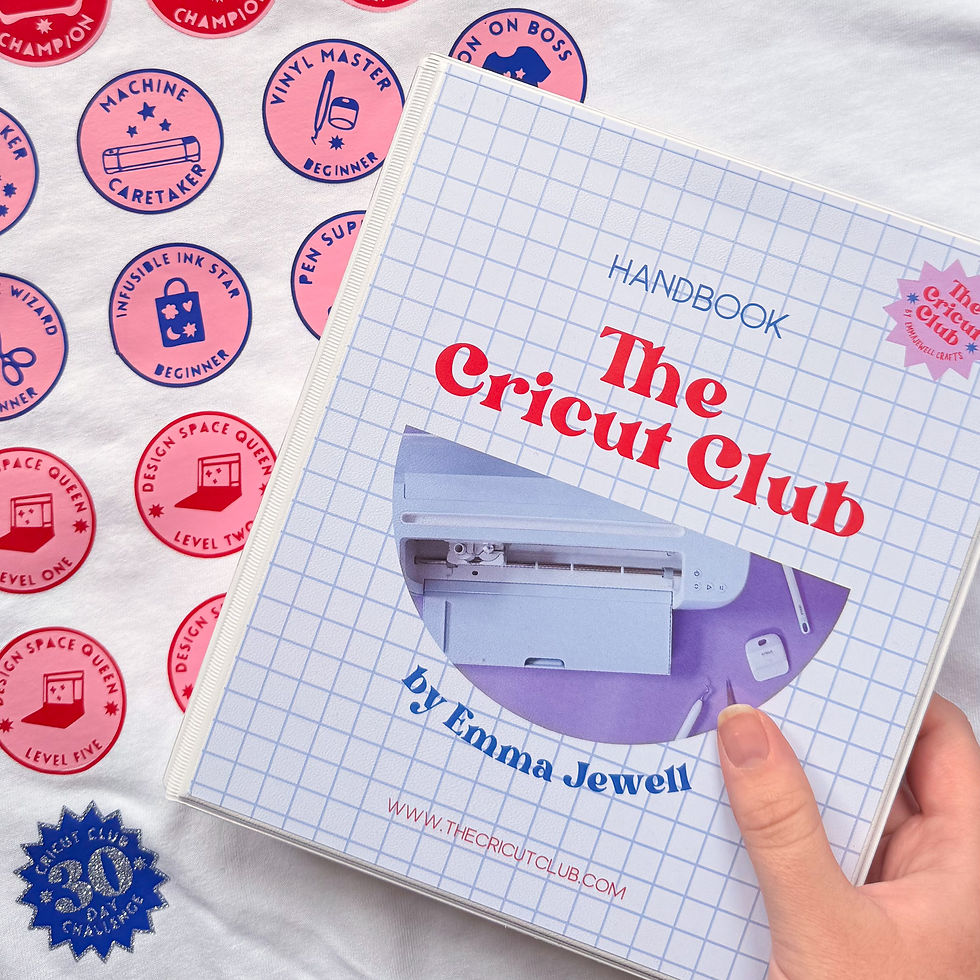
DIY RAINBOW SOCKS | CRICUT
- Emma Jewell

- Jan 20, 2021
- 2 min read
Updated: Nov 5, 2021
Create the cutest pair of positive socks using sportflex iron-on.
I'm a hoarder of cute socks, I just can't get enough of them! So I had to create my own pair of sock to bring positive vibes with me where ever I go!
I used sportflex iron-on for these so that the design stretches with the sock.

YOU WILL NEED:
-Cricut Maker https://shrsl.com/353a1 , Explore https://shrsl.com/353bb or Joy https://shrsl.com/353bd
-Cricut Easy Presshttps://shrsl.com/353br or Easy Press Mini https://shrsl.com/353bw
-Cricut Easy Press Mat https://shrsl.com/353i9
-Cricut Sportflex https://shrsl.com/38lra
-Cricut Weeding Tool https://shrsl.com/353g0
-Plain Pair of Socks
STEP ONE:
First, search for a rainbow image in Cricut Design Space and add it into the canvas. Then add the text, and attach it beneath your rainbow image. Resize the image to fit your sock size. Duplicate so that you have two, one for each sock!
STEP TWO:
Next head to make it, load the sport lex iron-on sheet, shiny side down, onto the mat. Then start cutting. Make sure to choose sport flex as your material setting.
Repeat this process to cut each different colour of vinyl.
STEP THREE:
Once cut, remove the mat from the machine, then take the iron-on sheet off of the mat.
Use a weeding tool to remove all of the excess vinyl just leaving the rainbow design attached to the clear carrier sheet.
STEP FOUR:
Then press each layer using the Easy Press. Check the Cricut heat guide to get the correct heat setting and time for the fabric of your socks.
Press the bottom layer first then repeat the process for each layer, covering the previous layers with a sheet of baking paper to protect them.
STEP FIVE:
Allow your design to cool completely before peeling off the final carrier sheet to reveal your finished design. Pop the socks onto your feet and spread those positive vibes!
*This blog post contains affiliate links


I found a detailed review of this online gaming platform really informative and easy to follow. Early on, you can check out more information here to get a solid overview. The guide highlights the platform’s strong game selection and clear bonus structure without overwhelming you with unnecessary details. I especially appreciated how it explained the registration and login process, making it approachable for both new and experienced players. Overall, it presents key points in a neutral, straightforward way that helps you decide if the platform suits your gaming style.
شيخ روحاني
رقم شيخ روحاني
الشيخ الروحاني
الشيخ الروحاني
شيخ روحاني سعودي
رقم شيخ روحاني
شيخ روحاني مضمون
Berlinintim
Berlin Intim
جلب الحبيب